英文规范书写教法.pdf
- 格式:pdf
- 大小:1.46 MB
- 文档页数:11
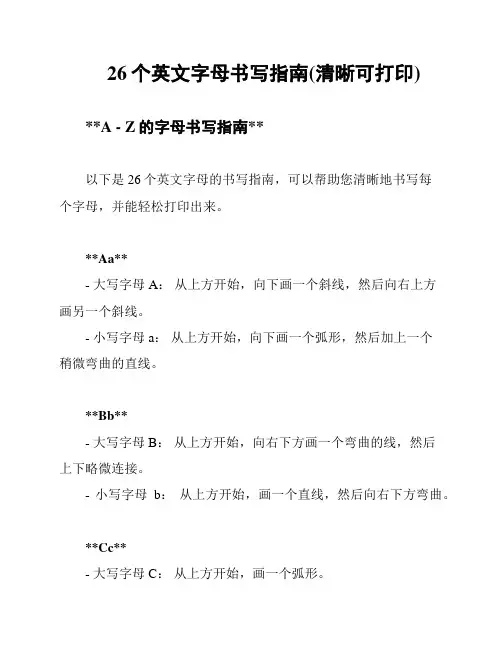
26个英文字母书写指南(清晰可打印) **A - Z的字母书写指南**以下是26个英文字母的书写指南,可以帮助您清晰地书写每个字母,并能轻松打印出来。
**Aa**- 大写字母A:从上方开始,向下画一个斜线,然后向右上方画另一个斜线。
- 小写字母a:从上方开始,向下画一个弧形,然后加上一个稍微弯曲的直线。
**Bb**- 大写字母B:从上方开始,向右下方画一个弯曲的线,然后上下略微连接。
- 小写字母b:从上方开始,画一个直线,然后向右下方弯曲。
**Cc**- 大写字母C:从上方开始,画一个弧形。
- 小写字母c:从上方开始,画一个稍微向右弯曲的弧形。
**Dd**- 大写字母D:从上方开始,向下画一个弯曲的线,然后向右上方画另一个斜线连接。
- 小写字母d:从上方开始,画一个弯曲的线,然后向右上方稍微连接。
**Ee**- 大写字母E:从上方开始,画一个向右的直线,然后向下画一个横线,最后画一个弯曲的横线。
- 小写字母e:从上方开始,画一个稍微向右弯曲的直线,然后向下画一个横线。
**Ff**- 大写字母F:从上方开始,画一个向右的直线,然后向下画一个横线,最后画一个稍微弯曲的横线。
- 小写字母f:从上方开始,画一个向右的直线,然后向下画一个稍微弯曲的横线。
**Gg**- 大写字母G:从上方开始,画一个弧形,然后向上画一个直线。
- 小写字母g:从上方开始,画一个稍微向右弯曲的弧形,然后向上画一个弯曲的直线。
**Hh**- 大写字母H:从上方开始,画两条平行直线,然后连接在一起。
- 小写字母h:从上方开始,画一个向右的直线,然后向下画一个稍微弯曲的直线。
**Ii**- 大写字母I:画一条竖线。
- 小写字母i:画一条竖线。
**Jj**- 大写字母J:从上方开始,画一个稍微向右弯曲的直线,然后向下画一个弯曲的直线。
- 小写字母j:从上方开始,画一个稍微向右弯曲的直线,然后向下画一个弯曲的直线。
**Kk**- 大写字母K:从上方开始,画一个向右上方的直线,然后向右下方画一个稍微弯曲的直线。
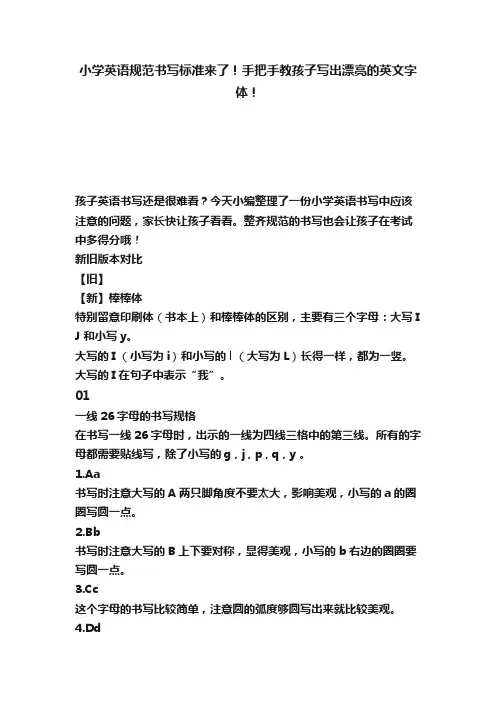
小学英语规范书写标准来了!手把手教孩子写出漂亮的英文字体!孩子英语书写还是很难看?今天小编整理了一份小学英语书写中应该注意的问题,家长快让孩子看看。
整齐规范的书写也会让孩子在考试中多得分哦!新旧版本对比【旧】【新】棒棒体特别留意印刷体(书本上)和棒棒体的区别,主要有三个字母:大写I J 和小写y。
大写的I (小写为i)和小写的l (大写为L)长得一样,都为一竖。
大写的I 在句子中表示“我”。
01一线26字母的书写规格在书写一线26字母时,出示的一线为四线三格中的第三线。
所有的字母都需要贴线写,除了小写的g , j , p , q , y 。
1.Aa书写时注意大写的A两只脚角度不要太大,影响美观,小写的a的圈圈写圆一点。
2.Bb书写时注意大写的B上下要对称,显得美观,小写的b右边的圈圈要写圆一点。
这个字母的书写比较简单,注意圆的弧度够圆写出来就比较美观。
4.Dd大写的D一般没有问题,易错的是小写的d笔顺,应先写左边的圈,再写一竖。
5.Ee书写时要注意大写E的笔顺,第一笔写左边的一竖,然后再写右边的三短横。
6.Ff书写时注意大写的F的笔顺,也是先写左边的一竖,再写右边的两短横。
7.Gg书写时注意圈圈弧度的圆滑,写出来就会比较美观。
8.Hh书写时注意大写的H的笔顺,应先写两竖,再写中间的短横。
9.Ii书写时注意小写的i的笔顺,第一笔应写一竖,第二笔再写上面的一点。
10.Jj书写时同上需注意小写j的笔顺,第一笔写竖钩,第二笔再写点。
11.Kk书写时注意大写的K占上两格,而小写的k的脚只占中间一格。
12.Ll书写时注意大写的L的第二笔不要写得过长,其长度约为竖的一半。
13.Mm书写时注意第一笔从上往下写,大写的M要写出棱角,而小写的m 要写得圆润。
14.Nn书写时注意同上,注意第一笔的运笔方向。
15.Oo书写时注意尽量写得圆润一点,大写的占上两格,小写的占中间一格。
16.Pp书写时注意第一笔应先写左边的一竖,大写的P占上两格,小写的p 占下两格。
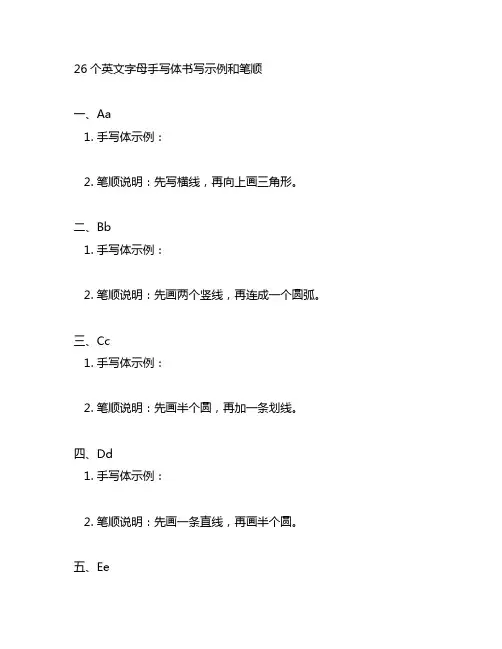
26个英文字母手写体书写示例和笔顺一、Aa1. 手写体示例:2. 笔顺说明:先写横线,再向上画三角形。
二、Bb1. 手写体示例:2. 笔顺说明:先画两个竖线,再连成一个圆弧。
三、Cc1. 手写体示例:2. 笔顺说明:先画半个圆,再加一条划线。
四、Dd1. 手写体示例:2. 笔顺说明:先画一条直线,再画半个圆。
五、Ee1. 手写体示例:2. 笔顺说明:先画一条横线,再画两条竖线。
六、Ff1. 手写体示例:2. 笔顺说明:先画一条横线,再画一条竖线。
七、Gg1. 手写体示例:2. 笔顺说明:先画一个半圆,再画一条直线。
八、Hh1. 手写体示例:2. 笔顺说明:先画两条竖线,再画一条横线。
九、Ii1. 手写体示例:2. 笔顺说明:先画一条竖线。
十、Jj1. 手写体示例:2. 笔顺说明:先画一条横线,再画一个小圈。
十一、Kk1. 手写体示例:2. 笔顺说明:先画一条斜线,再画一条竖线。
十二、Ll1. 手写体示例:2. 笔顺说明:先画一条竖线,再画一条横线。
十三、Mm1. 手写体示例:2. 笔顺说明:先画两条斜线,再画一条横线。
十四、Nn1. 手写体示例:2. 笔顺说明:先画两条斜线,再画一条竖线。
十五、Oo1. 手写体示例:2. 笔顺说明:先画一个圆。
十六、Pp1. 手写体示例:2. 笔顺说明:先画一条横线,再画一个半圆。
十七、Qq1. 手写体示例:2. 笔顺说明:先画一个圆,再画一个小尾巴。
十八、Rr1. 手写体示例:2. 笔顺说明:先画一条竖线,再画一个斜线。
十九、Ss1. 手写体示例:2. 笔顺说明:先画一个弧线,再画一个反向的弧线。
二十、Tt1. 手写体示例:2. 笔顺说明:先画一条横线,再画一条竖线。
二十一、Uu1. 手写体示例:2. 笔顺说明:先画一条竖线,再画一个圆。
二十二、Vv1. 手写体示例:2. 笔顺说明:先画两条斜线相交。
二十三、Ww1. 手写体示例:2. 笔顺说明:先画两条斜线相交,再画一条横线。
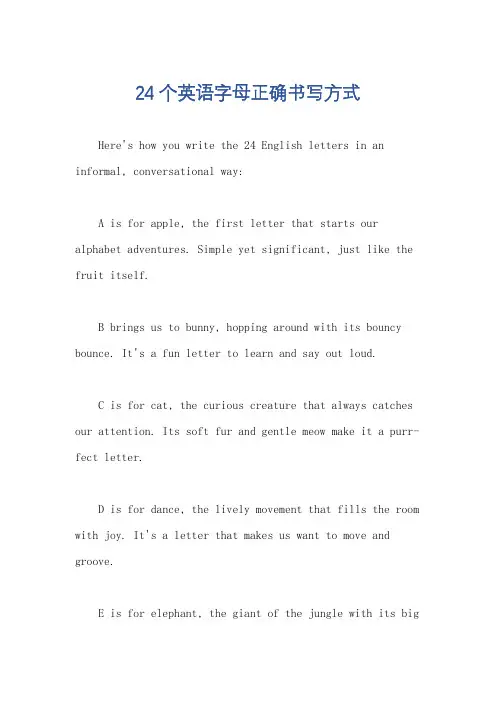
24个英语字母正确书写方式Here's how you write the 24 English letters in an informal, conversational way:A is for apple, the first letter that starts our alphabet adventures. Simple yet significant, just like the fruit itself.B brings us to bunny, hopping around with its bouncy bounce. It's a fun letter to learn and say out loud.C is for cat, the curious creature that always catches our attention. Its soft fur and gentle meow make it a purr-fect letter.D is for dance, the lively movement that fills the room with joy. It's a letter that makes us want to move and groove.E is for elephant, the giant of the jungle with its bigears and long nose. This letter reminds us of nature's wonders.F stands for frog, the amphibian that hops and croaks. It's a fun letter to learn, especially for those who love nature.G is for giggle, the sound of happiness and joy. This letter makes us smile and feel good inside.H hails to hummingbird, the tiny yet mighty bird with its rapid wingbeats. It's a letter that symbolizes speed and agility.I represents ice cream, the sweet treat that cools us down on hot summer days. Yummy!。
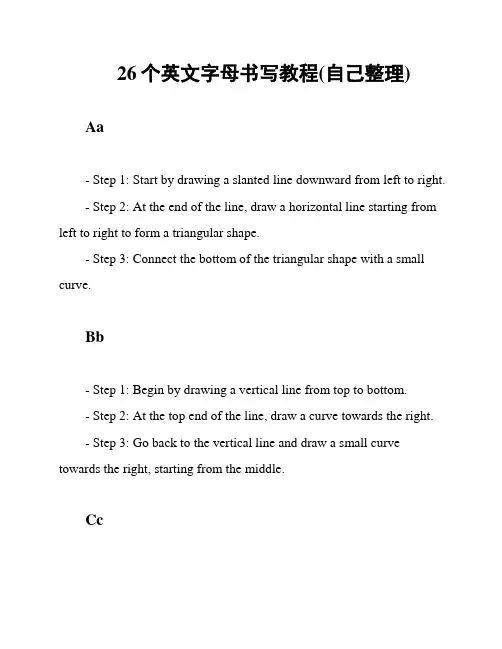
26个英文字母书写教程(自己整理) Aa- Step 1: Start by drawing a slanted line downward from left to right.- Step 2: At the end of the line, draw a horizontal line starting from left to right to form a triangular shape.- Step 3: Connect the bottom of the triangular shape with a small curve.Bb- Step 1: Begin by drawing a vertical line from top to bottom.- Step 2: At the top end of the line, draw a curve towards the right.- Step 3: Go back to the vertical line and draw a small curve towards the right, starting from the middle.Cc- Step 1: Start by drawing a curved line from left to right, similar to a backward "C".- Step 2: Continue the line downwards, creating a round shape.- Step 3: Connect the ends of the line with a small curve at the top.Dd- Step 1: Draw a vertical line from top to bottom, slightly slanted to the right.- Step 2: At the top end of the line, draw a small curve towards the left.- Step 3: Return to the vertical line, draw a small curve towards the right, starting from the middle.Ee- Step 1: Start by drawing a vertical line from top to bottom.- Step 2: At the top end of the line, draw a horizontal line towards the right.- Step 3: Draw another horizontal line below the first one, slightly shorter.- Step 4: Connect the lines on the right side with a small vertical line.Ff- Step 1: Begin by drawing a vertical line from top to bottom.- Step 2: At the top end of the line, draw a horizontal line towards the right.- Step 3: Draw another horizontal line below the first one, slightly shorter.- Step 4: Connect the lines on the right side with a small diagonal line towards the left.Gg- Step 1: Start by drawing a curved line from left to right, similar to a backward "C".- Step 2: Continue the line downwards, creating a round shape.- Step 3: Draw a small curve towards the right, starting from the middle.Hh- Step 1: Draw two vertical parallel lines from top to bottom.- Step 2: Connect the lines with a horizontal line at the top and bottom, forming a rectangular shape.Ii- Step 1: Draw a vertical line from top to bottom.- Step 2: Add two small horizontal lines on top and bottom of the vertical line.Jj- Step 1: Start by drawing a vertical line from top to bottom.- Step 2: At the bottom end of the line, draw a small curve towards the right.- Step 3: Connect the curve with a horizontal line towards the right.Kk- Step 1: Begin by drawing a diagonal line from top left to bottom right, slanted towards the right.- Step 2: From the bottom end of the diagonal line, draw another diagonal line towards the left, creating a "V" shape.Ll- Step 1: Draw a vertical line from top to bottom.- Step 2: At the bottom end of the line, draw a horizontal line towards the right.Mm- Step 1: Start by drawing two slanted lines, one from top left to bottom right, and the other from top right to bottom left, forming an "X" shape.- Step 2: Connect the ends of the lines with two diagonal lines towards the center of the "X".Nn- Step 1: Draw a diagonal line from top left to bottom right, slanted towards the right.- Step 2: From the bottom end of the diagonal line, draw another diagonal line towards the right, creating a parallel slanted line.Oo- Step 1: Begin by drawing a curved line from left to right, similar to a backward "C".- Step 2: Continue the line downwards, creating a round shape.Pp- Step 1: Draw a vertical line from top to bottom.- Step 2: At the top end of the line, draw a curve towards the right.- Step 3: Go back to the vertical line and draw a small curve towards the right, starting from the middle.Qq- Step 1: Start by drawing a curved line from left to right, similar to a backward "C".- Step 2: Continue the line downwards, creating a round shape.- Step 3: Draw a small line towards the right, starting from the middle.Rr- Step 1: Draw a vertical line from top to bottom.- Step 2: At the top end of the line, draw a curve towards the right.- Step 3: Go back to the vertical line and draw a small curve towards the right, starting from the middle.Ss- Step 1: Start by drawing a curved line from left to right, similar to a backward "C".- Step 2: Continue the line upwards, creating a round shape.- Step 3: Connect the ends of the line with a small curve at the bottom.Tt- Step 1: Draw a horizontal line from left to right.- Step 2: From the middle of the line, draw a vertical line towards the bottom.Uu- Step 1: Begin by drawing a vertical line from top to bottom.- Step 2: At the bottom end of the line, draw a curved line towards the left.- Step 3: Connect the curve with a small horizontal line towards the left.Vv- Step 1: Draw two diagonal lines from top to bottom, slanted towards each other, forming a "V" shape.Ww- Step 1: Start by drawing two diagonal lines, one from top left to bottom right, and the other from top right to bottom left, forming an "X" shape.- Step 2: Connect the ends of the lines with two diagonal lines towards the center of the "X".- Step 3: Add a small diagonal line in the middle of the "X" shape.Xx- Step 1: Draw a diagonal line from top left to bottom right, slanted towards the right.- Step 2: From the top right to bottom left, draw another diagonal line, slanted towards the left, crossing the first line at the center.Yy- Step 1: Start by drawing a slanted line downward from left to right.- Step 2: At the end of the line, draw a diagonal line towards the left, crossing the first line at the center.- Step 3: From the center, draw another diagonal line towards the right, slightly below the first line.Zz- Step 1: Draw a horizontal line from left to right.- Step 2: From the right end of the line, draw a diagonal line towards the left, slanted upwards.- Step 3: From the left end of the diagonal line, draw another diagonal line towards the right, slanted downwards.。

一、总体要求要求英语语言较为地道、通顺、简练,语法正确,符合英语表达习惯,专业术语规范、准确。
外文页所有字体均为Times New Roman ,要在英文状态输入法下输入,注意标点符号是英文的。
请结合所给模版认真体会。
本说明未尽事项,请查阅相关规定。
二、英文标题1、冠词:位于标题头时,首字母大写(也可省略);位于标题中时,全部字母小写;2、介词及连词:位于标题头时,首字母大写;位于标题中时,5个(含)以上字母的,首字母大写;4个(含)以下字母的,全部字母小写。
三、作者姓名居中,斜体;中国人姓名按照中国人习惯,姓前名后,姓全部字母大写,名第一个字母大写,若名为2个字,则2个字之间加短线“Hyphen [-]”,如果是两个作者,作者姓名之间加逗号, 最后两作者之间加“and”。
例如:⑴XIANG Hong-qiong and FENG Zhi-xin⑵YANG Xiu-hong , WU Zong-pu and ZHANG Guo-dong⑶西方国家及其它国家人的姓名按其习慣顺序排列,如:Sophie Dupont;缩写姓名时,姓要大写,之间用句号;如:J. H. Caemmere ;M. H. Thatcher (句号后面空1字符)⑷作者姓名及其排序应与中文稿一致;四、摘要Abstract顶格(不要首行缩进),空3个字母,然后接内容,小四号加粗;摘要正文用小四号。
外文标题的含义应与论文的中文标题含义相同,字数一般不超过10个实词。
外文摘要注意大小写,单词之间要空1个英文字符。
外文摘要含250个左右的实词。
五、关键词Key words顶格(即不要首行缩进),空3个字母,然后接关键词,小四号加粗;关键词用小四号,关键词之间空2个英文字符。
六、正文顶格数起,数字与单位之间空1个英文字符;例如,500 m, 5 000 ml;品种名称含数字时,表示为:Linghe891 Xianyu63 ;千位以上的数字,从个位算起每3位空1个英文字符;变量x, y, z等、参数、概率P、相关系数r、常数k等用斜体;数字若不跟计量单位,句首用文字形式,句中时,10以内用文字,10以上用数字;若跟单位,一律用数字形式;天、小时、分钟、秒等可缩写;例如,5 d, 10 h, 20 m, 30 s;七、图表译稿中的图表不得省略;表用三线表;图表标题居左; 图表中的项目标题居中;三线格中的内容居中;数字以小数点为基准线,相同位数整列对齐;图题及表题均采用小五号体。

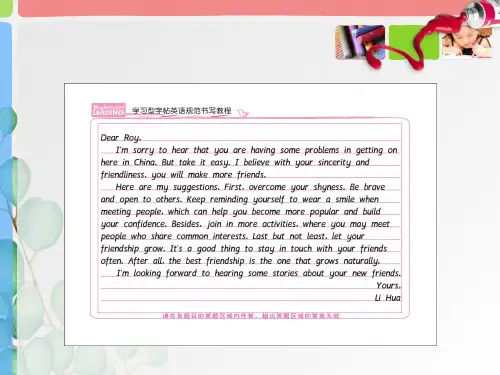
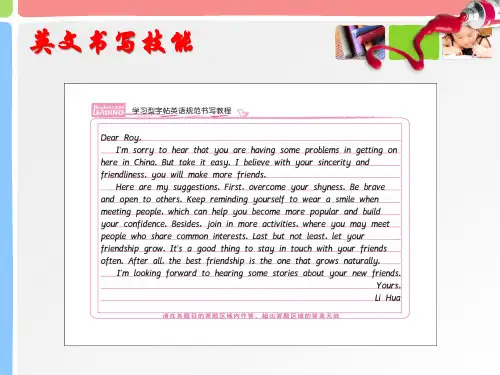
英语手写体范文
英文书写规范手写体如下:
准备材料:英语本、笔
1、斜度:每个字母都要稍向右倾斜约10°左右,斜度要一致。
如图:A F H的书写。
2、大写字母的书写规格是:上不顶天下立地。
即笔画的上端稍离第一线,笔画的下端必须紧贴第三线,不许离线也不许出格。
占中间格的小写字母有a、c、e、m、n、o、r、s、u、v、w、x、z共13个,笔画的上端必须紧贴第二线,下端必须紧贴第三线,不许离线也不许出格。
3、占第一、第二两格的小写字母共有5个:b、d、h、k、l,笔画的上端必须顶第一线,下端必须顶第三线,不许离线也不许出格。
4、小写字母i和t也占第一、第二两格。
但t的上端在第一格中间,短横重合第二线;i的小圆点在第一格中间稍偏下处。
5、占第二、第三两格的小写字母共有3个:g、q、y,笔画的顶端要紧贴第二线,下端要紧贴第四线,不可离线也不可出格。
6、占第一、第二及第三格的小写字母共有3个:f、j、p。
其中f的上端稍离第一线(和大写字母一样),下端紧贴第四线,短横重合第二线;j的小圆点与i 的小圆点位置相同,下面一笔的上端顶第二线,下端紧贴第四线;p的上端略高于第二线,约占第一格的三分之一,下端紧贴第四线。
英语规范书写自从三月份推广这个英语规范书写之后,我们乡镇和我们学校也积极的响应。
我们教研员在动员我们的时候说:“一切教育都归结为养成学生良好的学习习惯,往往自己的幸福都归结于自己的习惯。
”小学阶段的英语教学是启蒙性教学。
启蒙时期学习的东西,给人的印象最深刻,形成的习惯最难以改变,甚至对一生都有重要影响。
英语字母书写是小学生的一个薄弱环节,尤其是我们农村小学。
估计很多城区老师都想象不到我们农村三四五六年级也有包班这种现象发生,很多英语老师都是半路出家的和尚。
我们镇所有学校都是语文老师带英语或数学老师带英语。
以前我是在中学当老师,学生的字母那是各种各样的写法都有,不是好看不好看,而是本身的笔画笔顺就是错误的,无论怎样纠正和强调都改不过来。
我印象很深刻的是大概2008年左右吧,我看邻居家的孩子在写英语作业,那个i和y的写法,我说:“你写错了。
”我让他改,他说:“我要写成那,老师光撕我的作业。
”我也比较好管闲事,一个村的,我就去跟老师说。
老师说这样好写,学生们写着快又顺手,我就把我们中学英语课本上的手写体拿给他看。
不过后来好像老师也要求学生纠正过来了。
所以习惯和兴趣的养成比知识的传授更重要。
不过这几年应该好很多,至少学校都有专业英语老师了。
书写要求学生有良好的书写习惯,能在四线格上正确、熟练、清楚地书写字母、单词、句子,并做到大小写、笔顺、词距、标点等正确、规范。
我们学校练习书写前要求学生必须朗诵一个口诀:句首字母要大写,单词之间要空格,人名地名国家名,首字母大写要记清,英语句号是个点,逗号问号不用变。
就是让孩子们把它印在脑子里。
小学阶段的书写对学生以后的书写会产生重要的影响。
具有良好的书写习惯是小学英语教学的重要内容之一。
英语学习习惯的养成主要是靠教师的细心引导。
我们身为英语启蒙老师,对待小学英语学习的基础——书写教学,应当有计划地、有步骤、有方法地对学生进行训练,为他们进入高一层次的英语学习打下坚实的基础。