
戴尔dell3421拆机清灰图解
- 格式:doc
- 大小:42.59 MB
- 文档页数:16

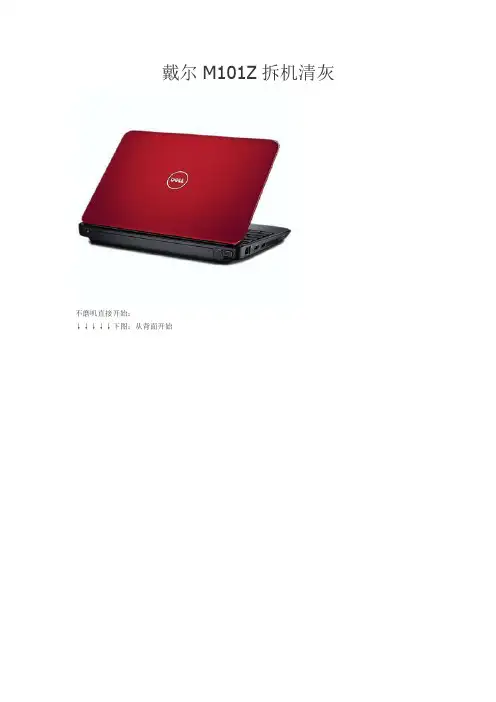
戴尔M101Z拆机清灰
不磨叽直接开始:
↓↓↓↓↓下图:从背面开始
↓↓↓↓↓下图:取下电池,和背面所有螺丝,注意A,B两处!
↓↓↓↓↓下图:翻过来,用螺丝刀顶A,B两处取下键盘
↓↓↓↓↓下图:取下硬盘
↓↓↓↓↓下图:小窍门一:在螺丝刀再粘一个小磁铁,这样可以更闹靠的吸住螺丝,免得掉了不好找,你懂得!
↓↓↓↓↓下图:小心取下三处排线:键盘,触摸板和电源按钮
↓↓↓↓↓下图:小窍门二:就是这些废旧的会员卡,翘壳神器!你懂得!
↓↓↓↓↓下图:先用会员卡松开C壳边缘,然后适当用力取下C壳!
↓↓↓↓↓下图:取下无线网卡后取主板的,
↓↓↓↓↓下图:不要忘记取下右侧的SD卡挡片
↓↓↓↓↓下图:小马偷了个懒,没有取下主板上的所有连接线,只松开了转轴,将主板翻转到了屏幕上
但偷懒时要小心,不要弄坏了连接线!
↓↓↓↓↓下图:风扇上有很多灰尘,取下四颗螺丝,然后取下风扇盖
↓↓↓↓↓下图:由于画面太过...,...不宜,省略一张,你懂得!↓↓↓↓↓下图:这是清理好的样子
↓↓↓↓↓下图:重新上好所有螺丝做测试,效果还不错
同时测试的还有两个,技术员就是这样,一天到晚都是电脑,有时边吃饭都在边装系统,还是仨一起装!
还真就是那句经典的名言:从小不学好,长大了修电脑!。
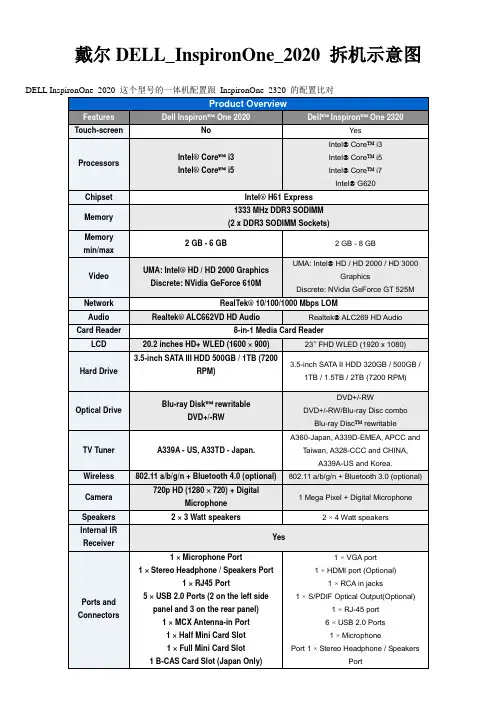
戴尔DELL_InspironOne_2020 拆机示意图外观。
正面1 Camera activity indicator— Indicates if the camera is on or off. A solid white light indicates camera activity. 摄像头补光灯2 Camera— Used for video conferencing and capturing video or still images. 摄像头3 Microphone— Provides high quality sound for video chatting and voice recording. 麦克风4 IR Reciever— Recieves singals from the remote control. (Remote control ships only with systems ordered with TV Tuner Card) 红外接口1 Air Vents —Dissipates heat generated by internal components. 散热口,出风口2 USB 2.0 connectors (3)— Connect to USB devices, such as a mouse, keyboard, printer, external drive, or MP3 player. USB接口3 TV-in connector (optional)— Connects to an external antenna to view programs using the optional TV tuner card. TV信号输入接口4 Network connector— Connects your computer to a network or a broadband device if you are using a wired network. RJ45网络接口5 AC adapter connector— Connects to the AC adapter to power the computer. 适配器接口6 Security cable slot— Attaches a commercially available security cable to the computer. 安全锁1 Volume button / Volume/Brightness increase button- Press this button first to get the volume up/down menu and the same button is used to increase volume and brightness. 音量亮度调节2 Brightness button / Volume/Brightness decrease button- Press this button first to get the brightness up/down menu and the same button is used to decrease volume and brightness.音量亮度调节3 Volume/Brightness exit button - Press this button to exit the volume or brightness menu.音量亮度调节4 Audio-out/Headphone connector - Connects to a pair of headphones. 耳机接口5 Audio-in/Microphone connector- Connects to a microphone or input signal for use with audio playback devices like CD/MP3 player. 麦克风接口6 USB 2.0 connector - Connects to USB devices, such as a mouse, keyboard, printer, external drive, or MP3 player. USB2.接口7 USB 2.0 connector- Connects to USB devices, such as a mouse, keyboard, printer, external drive, or MP3 player. USB2.接口8 8-in-1 Media Card Reader - Provides a fast and convenient way to view and share digital photos, music, videos, and documents stored on memory cards. 读卡器接口.1 Optical drive - Plays or records CDs, DVDs, and Blu-ray Discs (optional). 光驱2 Hard-drive activity light - Turns on when the computer reads or writes data. A blinking white light indicates hard drive activity. 硬盘指示灯3 Power button - Turns the computer on or off when pressed. The light on the button indicates the following power states:•Solid amber: The computer has detected an error during Power-on self-test (POST).•Breathing amber: The computer is in sleep/standby state or There is a possibility of system facing an issue.•Solid white: The computer is ON.•Off: The computer is off or in hibernate state 电源按键开关接下来就是拆机过程了。

dell inspiron 拆机教程Dell Inspiron是一款非常受欢迎的笔记本电脑系列,拥有良好的性能和外观设计。
当我们需要进行维修或者升级硬件时,我们可能需要拆开笔记本。
下面,我将为您提供一份Dell Inspiron拆机教程。
第一步:准备工具在开始拆卸之前,您需要准备一些工具,以便顺利完成拆机过程。
您需要一个小的十字螺丝刀,一个扁平的螺丝刀,一个塑料刮板,以及一些细小的容器来储存拆下的螺丝。
第二步:关闭电源并移除电池首先,将您的Dell Inspiron完全关闭,然后取出电池。
这是为了确保您的安全,并防止电子设备受到损害。
第三步:移除硬盘和内存条接下来,您需要移除硬盘和内存条。
在大多数Dell Inspiron型号中,这些设备通常位于底部面板下方。
使用扁平的螺丝刀打开底部面板,并找到硬盘和内存条的位置。
使用塑料刮板轻轻拉开硬盘和内存条的插槽,并轻轻将其取出。
第四步:拆卸键盘面板键盘面板是Dell Inspiron中最复杂的部分之一。
使用扁平螺丝刀小心地解开键盘面板固定螺丝。
然后,使用塑料刮板轻轻放置在键盘面板和金属框架之间,慢慢移动,同时小心不要损坏键盘面板上面的连接线。
最后,将键盘面板从金属框架上取下。
第五步:拆卸显示屏接下来,您需要拆下显示屏。
使用十字螺丝刀拆下显示屏上的螺丝,并仔细将显示屏从塑料框架上取下。
请务必小心操作,以免损坏显示屏。
第六步:拆卸主板最后,您需要拆下主板。
将键盘面板和显示屏部分完全移除后,您将能够看到主板和其他部分。
使用扁平螺丝刀解开主板上的螺丝,并小心地将主板从其他连接器上取下。
拆机完成后,您可以进行维修或升级工作。
完成操作后,再按照上述步骤的倒序重新安装硬件和面板。
拆机需要小心操作,务必遵循以上步骤,并时刻注意不要损坏电子设备。
如果您对自己的技能不够自信,建议最好去专业的电子维修中心进行拆装。
希望以上拆机教程对您有所帮助。
祝您操作顺利!。