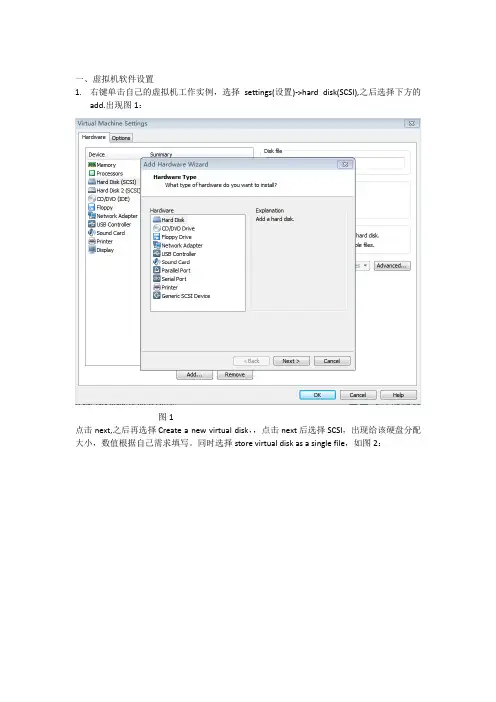
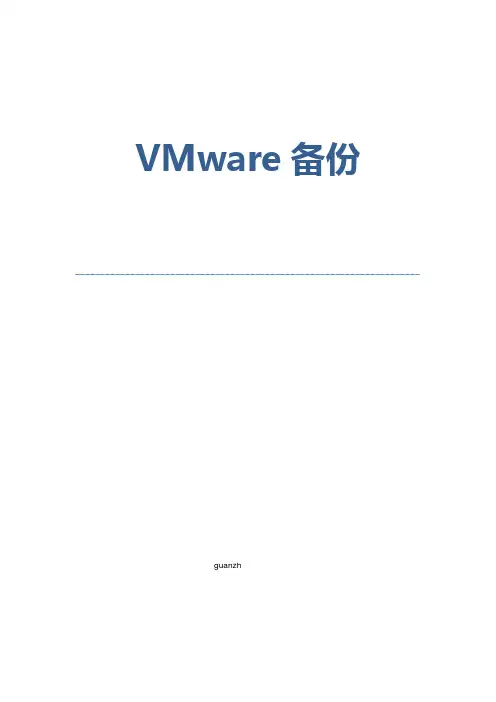
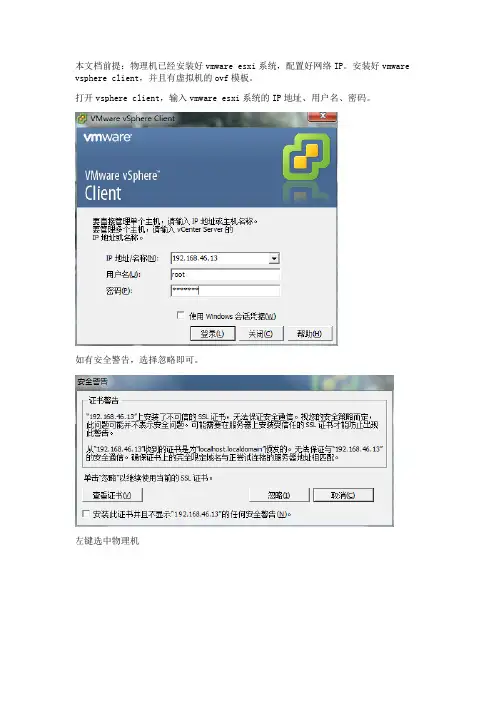
Idiot's Guide to running DSM 4.2 on ESXi 5.1Required:A bit of time to accurately follow this guide, comprehension and configuration skills.A properly installed and configured 64-Bit Machine running ESXi 5.1:https:///web/vmware/evalcenter?p=free-esxi5&lp=defaultInstallation and Configuration of ESXi 5.1 is left as an exercise for the reader.NOTE: It is not a requirement to support Vt-d and use VMDirectPath I/O for disks. Use this configuration only if performance is critical and absolutely necessary. Using the PVSCSI controller and creating physical RDM mapped disks is preferred. Using a Datastore mapped VMDK (as in this guide) is for instructional and testing purposes only, and should not be used in a normal usage environment. Thin Provisioned VMDKs can be used for testing & evaluation, but performance will suffer as a result.Download the modified Synology DSM 4.2 from here: http://yadi.sk/d/fTRkFMyU3D8Yc(Thanks to jukolaut, based on odie82544's DS3612xs_3202-Repack images)Download the Synology Assistant from Synology directly:/support/download.php?lang=enu&b=12%20bays&m=DS3612xsESXi Preparation:Upload the esxi_synoboot_3202_v2.vmdk disk image to your ESXi Datastore. Place it in a useful directory. i.e.: pre-create a directory with the same name you will give your Synology Virtual Machine instance, and upload this file into that directory.VM Configuration:Create a new Custom Virtual MachineGive the VM a useful namePut it on your ESXi Datastore - Using a SSD is goodUse Virtual Machine Version 8Synology DSM 4.2 is based on a Linux 2.6.x 64-Bit KernelFor adequate performance, use 1 socket, with 2 coresAssign 1Gb or more of memory. NOTE: It is recommended to reserve this memory for performance reasons, so the memory used MUST be available on the ESXi server.Create 1 network adapter, VM Network, VMXNET 3, Connected at Power OnUse a VMware Paravirtual SCSI controllerUse an existing Virtual DiskSelect the esxi_synoboot_3202_v2.vmdk image uploaded earlier to the DatastoreSet the Disk Image to use IDE (0:0) as the Virtual Device NodeSelect "Edit the virtual machine settings before completion" and continueNow we will add at least one new Hard Disk, or multiple Disks to the VM, which will become your new Synology Data Drives. NOTE: Refer to the appendix for local RDM VMDK creation.Choose a Hard Disk device to be addedIn this example we will create a new VMFS virtual disk on the Datastore solely for testing. In a proper environment, use a PVSCSI attached RDM, or a VMDirectPath I/O attached drive.We will now (for example purposes only) create a 20Gb, Thick Provisioned Lazy Zeroed drive. NOTE: A Thin Provisioned drive will also work, however the performance will be even worse.Attach this new disk to the SCSI (0:0) Virtual Device Node (Disk 1 in the Synology)Now ensure that the Synology VM has all of it's memory reserved for the guest. We are (at present) not running VMTools, so memory management is best left pre-allocated. Additionally, this will permit the VM to use Vt-d attached PCI devices, and therefore to use VMDirectPath I/O and physically attached drives.Click Finish, and you're now ready to start up your VM and get DSM 4.2 installed.When you start the VM, the console will show a standard Linux boot sequence. Once completed, the login prompt will appear and you will notice a number of synobios_ioctl messages in the console window. These can be ignored.Once the Synology OS is loaded (DSM 4.2 installed through the Synology Assistant) and configured the synobios_ioctl messages in the console will slow down in frequency.(SYNOIO_GET_HW_CAPABILITY, SYNOIO_GET_MODULE_TYPE, SYNOIO_GET_SYS_STATUS)RDM Disk VMDK File PreparationInstead of creating a Virtual Disk on the VMFS filesystem which will have bad performance characteristics for a file server, it is recommended to create a physically mapped drive using a RDM (Raw Device Mapping) file, which will give near-direct access through to the disk, especially when using the PVSCSI controller.First, we need to enable SSH on the ESXi installation in order to execute commands in the Maintenance Shell.Reference:/selfservice/microsites/search.do?cmd=displayKC&docType=kc&d ocTypeID=DT_KB_1_1&externalId=1017910Then use any SSH client, in order to connect to your ESXi Command Maintenance Shell.NOTE: Instead of immediately adding an additional drive to the VM, first Finish creating the VM (but do not start it). This will create the VM Directory on the Datastore, into which you can then create the new RDM VMDK files for your disks.Change directory to the location of your Synology VM Store, since we wish to create the RDM VMDK file in a useful spot - i.e. located with the Virtual Machine.Use vSphere to figure out the path, or TAB completion in the shell to get to the right place.i.e.: cd /vmfs/volumes/Datastore/Synology_ESXi/Creating a RDM VMDK:Reference:/selfservice/microsites/search.do?language=en_US&cmd=display KC&externalId=1026256For the "idiot's guide" to creating local SATA RDM VMDK files, read this:Reference: /esx40i/SATA_RDMs.phpIt is important that you ensure you pick the CORRECT disk when specifying the disk device identifier to vmkfstools. Mapping your Datastore would be disasterous!i.e.: vmkfstools –z /vmfs/devices/disks/vml.01000000002020202020202020202020203951473358423 630535433353030 RDM1.vmdk -a lsilogicNOTE: It is critical that when using ESXi 5.1 with large disks > 2TB, the we always use the -z switch instead of -r to create a physical RDM mapping.Reference: /vsphere/2011/07/new-vsphere-50-storage-features-part-1-vmfs-5.htmlIf you have the ability to utilise Vt-d and VMDirectPath I/O, then assign the Synology supported PCI SATA card directly to the VM, restart Synology DSM, and you will then have the drives directly available. within the Synology OSIn my informal testing, using the PVSCSI and Physical RDM vmdk files provides near-equivalent performance as VMDirectPath I/O. Only use this configuration if performance is critical.Installing DSM 4.2 in Synology Virtual MachineRun the Synology Assistant and let it scan your Network for your new Synology VM.When it has been found, select it and Connect. A new web browser window will open.You will now see the Synology Web Assistant LoadingOnce loaded, you will be welcomed to your new Synology DiskstationChoose to Install DSM from my computer or installation disc. Select the esxi_install_3202_v2.pat file from the download.Give your new DiskStation a secure admin password, and a suitable name.You will then be prompted that the installation will erase all data on the attached disksThe Disk(s) will then be formatted, the DSM installation pack will be uploaded, and installedWhen this is completed, the DiskStation will pause for final configuration requirementsIt will then reboot with the new DSM 4.2 installed ... be patient (or watch the ESXi console)You now have a running DiskStation!And it's happy for you to start using itAs usual, just complete the WizardAnd welcome to your new ESXi based Virtual Machine Synology DiskStation!。