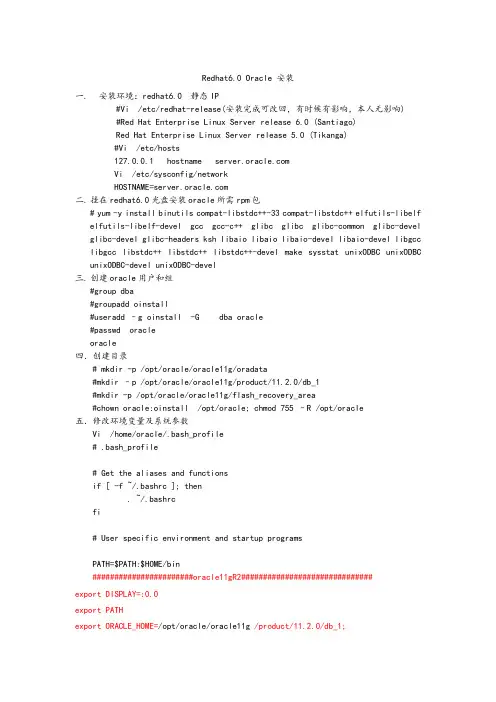
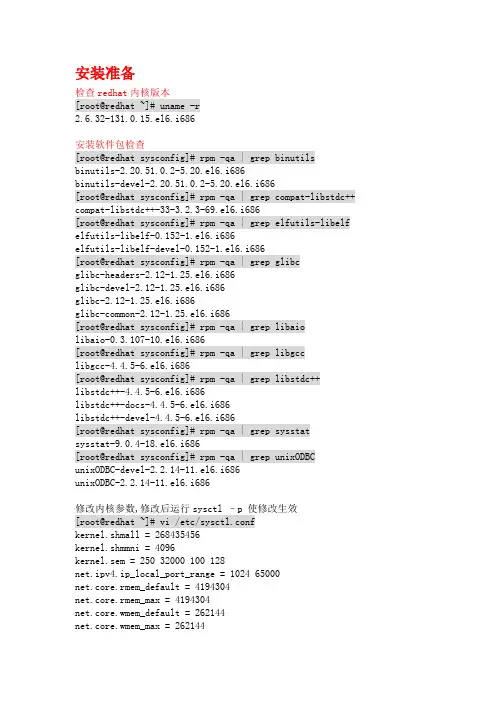
Red Linux6.0安装oracle11g数据库
- 格式:docx
- 大小:390.92 KB
- 文档页数:9
RHEL 6 (x86_x64)安装oracle 11g r2
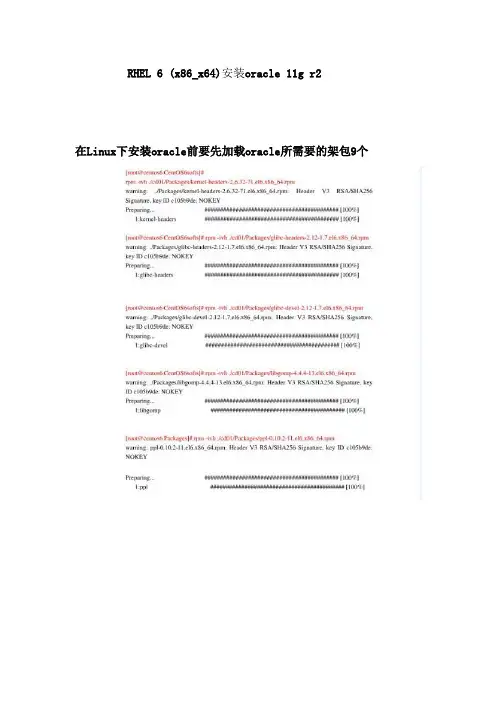
在Linux下安装oracle前要先加载oracle所需要的架包9个
希望本文能给你提供一点点的帮助,如果有问题,你可以在我的百度空间留言,地址:
/creative_in_the_sky/home。
我在RHEL6 64位上安装。使用GNOME图形界面,安装的时候把Development Tools里
的开发包都安装上,或者快速安装后搭建本地yum源再利用群组安装也可。值得注意的是
swap要求至少3G,我的机器为2G物理内存。
安装过程分为两步,一是修改系统参数,二是软件及数据库安装。
修改系统参数
step1: vi /etc/sysctl.conf, 添加如下参数:
fs.aio-max-nr = 1048576
fs.file-max = 6815744
kernel.shmall = 2097152
kernel.shmmax = 1073741824
kernel.shmmni = 4096
kernel.sem = 250 32000 100 128 net.ipv4.ip_local_port_range = 9000 65500 net.core.rmem_default = 262144
net.core.rmem_max = 4194304
net.core.wmem_default = 262144
net.core.wmem_max = 1048586
保存并使之生效
/sbin/sysctl -p
如果有如下提示错误,忽略,因为即使未修改参数也提示有这个错误
error: "net.bridge.bridge-nf-call-ip6tables" is an unknown key
error: "net.bridge.bridge-nf-call-iptables" is an unknown key
error: "net.bridge.bridge-nf-call-arptables" is an unknown key
注意: kernel.shmmax's 的值是物理内存的一半。 我的是2G内存,所以是1073741824
step2: vi /etc/security/limits.conf,添加:
oracle soft nproc 2047
oracle hard nproc 16384
oracle soft nofile 1024
oracle hard nofile 65536
step3: vi /etc/pam.d/login,添加参数:
session required pam_limits.so
step4:vi /etc/profile:
if [ $USER = "oracle" ]; then
if [ $SHELL = "/bin/ksh" ]; then
ulimit -p 16384
ulimit -n 65536
else
ulimit -u 16384 -n 65536
fi
fi
step4: vi /etc/csh.login:
if( $USER == "oracle" ) then
limit maxproc 16384
limit descriptors 65536
umask 022
endif
step5: vi /etc/redhat-release,修改为如下值,成功安装数据库后在修改回来:
Red Hat Enterprise Linux Server release 5.0 (Tikanga)
step6: 添加相关用户及用户组:
/usr/sbin/groupadd oinstall
/usr/sbin/groupadd dba
/usr/sbin/useradd -m -g oinstall -G dba oracle
echo "oracle"|passwd --stdin oracle (我比较懒,管道命令修改oracle密码)
Step 6: 创建安装路径及修改权限:
mkdir -p /opt/11g/oracle
chown -R oracle:oinstall /opt/11g/oracle chmod -R 775 /opt/11g/oracle
mkdir -p /opt/11g/oraInventory
chown -R oracle:oinstall /opt/11g/oraInventory
chmod -R 775 /opt/11g/oraInventory
Step 7: vi /home/oracle/.bash_profile, 其中ORACLE_SID的值可以自己定,我的设为orcl
TMP=/tmp; export TMP
TMPDIR=$TMP; export TMPDIR
ORACLE_BASE=/opt/11g/oracle; export ORACLE_BASE
ORACLE_HOME=$ORACLE_BASE/product/11.2.0/dbhome_1; export ORACLE_HOME
ORACLE_SID=orcl; export ORACLE_SID
ORACLE_TERM=xterm; export ORACLE_TERM
PATH=$ORACLE_HOME/bin:/usr/sbin:$PATH; export PATH
LD_LIBRARY_PATH=$ORACLE_HOME/lib:/lib:/usr/lib;
export LD_LIBRARY_PATH
CLASSPATH=$ORACLE_HOME/JRE:$ORACLE_HOME/jlib:$ORACLE_HOME/rdbms/jlib;
export CLASSPATH
if [ $USER = "oracle" ]; then
if [ $SHELL = "/bin/ksh" ]; then
ulimit -p 16384
ulimit -n 65536
else
ulimit -u 16384 -n 65536
fi
fi
umask 022
使环境变量生效:
source ~/.bash_profile
step 8:切换到oracle解压11G的安装包,这样就不用再修改权限了。
step 9: 重启后以oracle登录安装。
以下是安装过程
[oracle@localhost database]$ ./runInstaller
Starting Oracle Universal Installer...
Checking Temp space: must be greater than 120 MB. Actual 8288 MB Passed
Checking swap space: must be greater than 150 MB. Actual 4095 MB Passed
Checking monitor: must be configured to display at least 256 colors.
Actual 16777216 Passed
Preparing to launch Oracle Universal Installer from
/tmp/OraInstall2011-04-28_07-44-59AM.
Please wait ...[oracle@localhost database]$ You can find the log of this
install session at:
/opt/11g/oraInventory/logs/installActions2011-04-28_07-44-59AM.log
出现图形界面后选择默认即可。当检查依赖包是可能会出现如下下提示
我查看了这些包,都安装了,只是版本比较新,可能是这个原因导致的。忽略它继续安装即
可。下图为安装ORACLE软件:
创建数据库:
可以在上面解锁一些帐号和修改密码,点击上面的OK后,出现如下:
切换到root,命令完成最后安装。
[oracle@localhost ~]$ su -
Password:
[root@localhost 11g]# sh /opt/11g/oraInventory/orainstRoot.sh
Changing permissions of /opt/11g/oraInventory.
Adding read,write permissions for group.
Removing read,write,execute permissions for world.
Changing groupname of /opt/11g/oraInventory to oinstall.
The execution of the script is complete.
[root@localhost 11g]# sh
/opt/11g/oracle/product/11.2.0/dbhome_1/root.sh
Running Oracle 11g root.sh script...
The following environment variables are set as:
ORACLE_OWNER= oracle
ORACLE_HOME= /opt/11g/oracle/product/11.2.0/dbhome_1
Enter the full pathname of the local bin directory: [/usr/local/bin]:
Copying dbhome to /usr/local/bin ...
Copying oraenv to /usr/local/bin ...
Copying coraenv to /usr/local/bin ...
Creating /etc/oratab file...
Entries will be added to the /etc/oratab file as needed by
Database Configuration Assistant when a database is created
Finished running generic part of root.sh script.
Now product-specific root actions will be performed.
Finished product-specific root actions.
[root@localhost 11g]#
附:如果曾经安装过得话,提示框会和上面不太一样,只要你
sh /opt/11g/oraInventory/orainstRoot.sh即可。
登陆OEM浏览器查看:
注意,此时数据库并没有设置为随机启动,在windows下是以服务方式随机启动的。手动方
式如下:
启动监听程序:lsnrctl start