Matrikon Inc.
10405 Jasper Avenue Suite 1800 Edmonton, AB T5J 3N4 Canada
Phone
780-448-1010
Fax
780-448-9191
Web
https://www.doczj.com/doc/9b10823936.html, Support Site
https://www.doczj.com/doc/9b10823936.html,
CANADA
Edmonton, Alberta Calgary, Alberta
Fort McMurray, Alberta Vancouver, British Columbia Toronto, Ontario
Quebec City, Quebec
AUSTRALIA Newcastle, New South Wales Brisbane, Queensland Gladstone, Queensland Melbourne, Victoria Perth, Western Australia USA
St. Louis, Missouri Houston, Texas
New York, New York EUROPE
Aberdeen, Scotland MIDDLE EAST
Al Khubar, Saudi Arabia
Establishing OPC Communication on
Windows XP SP2 and Windows 2003 SP1
July 4, 2006
Users will often experience difficulties with OPC Communication on
Windows XP SP2 and Windows 2003 SP1 due to advanced security settings. This document describes how to disable these security settings to allow OPC Communication.
DCOM Security Settings
OPC uses ActiveX COM and DCOM to communicate, so we must open our DCOM permissions to allow this.
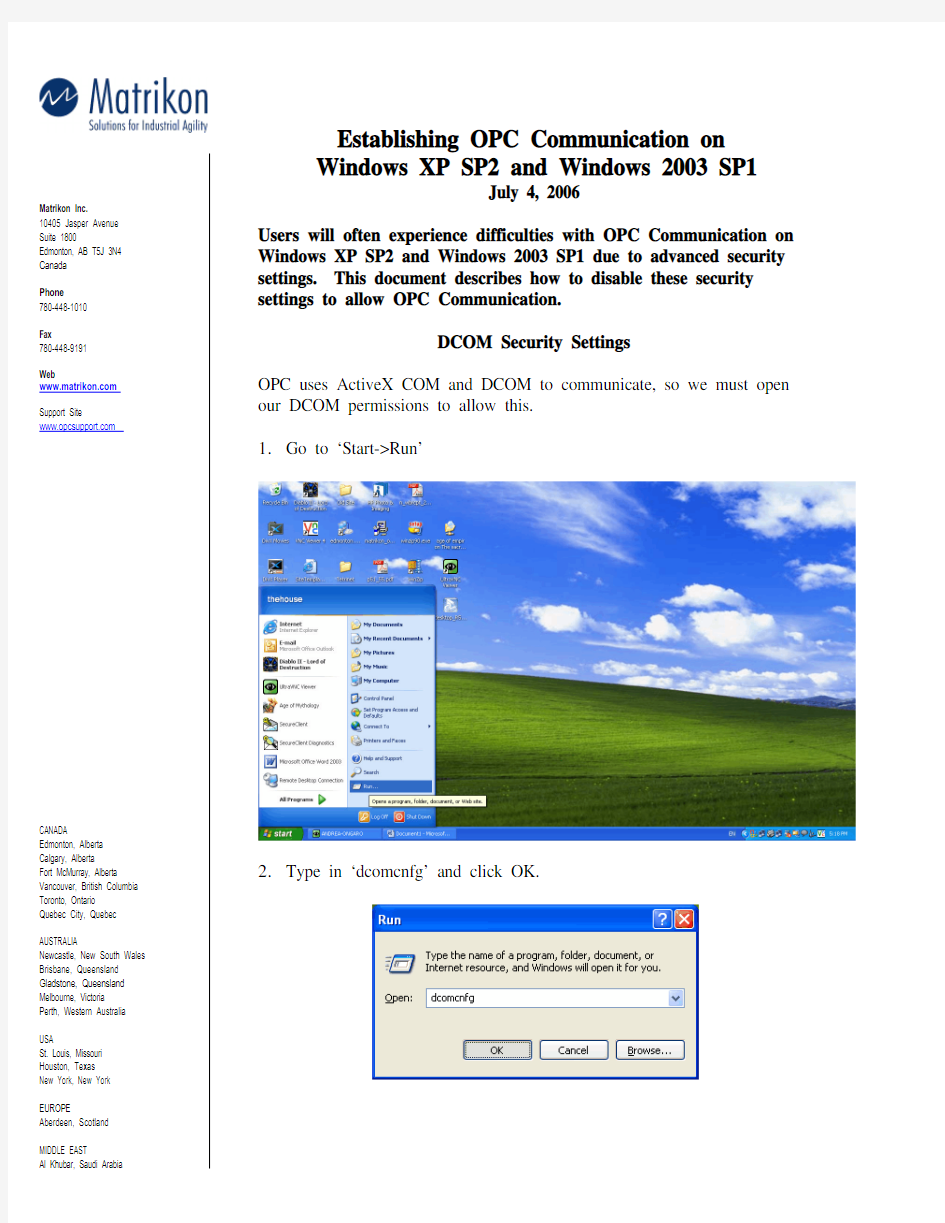
1.Go to ‘Start->Run’
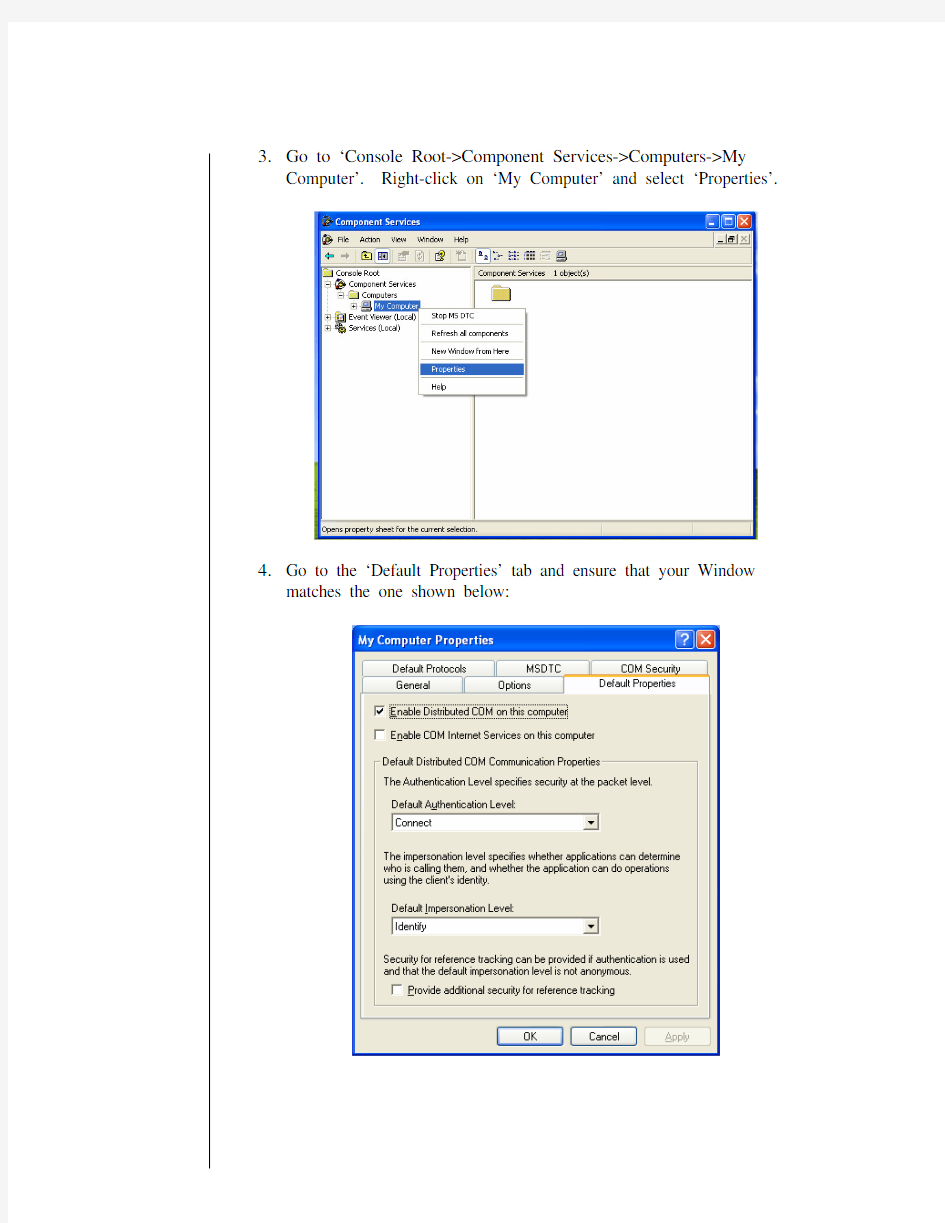
2.Type in ‘dcomcnfg’ and click OK.
3.Go to ‘Console Root->Component Services->Computers->My
Computer’. Right-click on ‘My Computer’ and select ‘Properties’.
4.Go to the ‘Default Properties’ tab and ensure that your Window
matches the one shown below:
5.Go to the ‘COM Security’ tab. Under ‘Access Permissions’, click on
the ‘Edit Limits’ button.
6.Ensure that you have allowed permissions to ‘Anonymous Logon’,
‘Everyone’, ‘Interactive’, ‘Network’, and ‘System’ as shown below.
Then click OK.
7.Under ‘Access Permissions’, select the ‘Edit Default’ button.
8.Ensure that you have allowed permissions to ‘Anonymous Logon’,
‘Everyone’, ‘Interactive’, ‘Network’, and ‘System’ as shown below.
Then click OK.
9.Under ‘Launch and Activation Permissions’, select ‘Edit Limits’.
10.Ensure that you have allowed permissions to ‘Anonymous Logon’,
‘Everyone’, ‘Interactive’, ‘Network’, and ‘System’ as shown below.
Then click OK.
11.Under ‘Launch and Activation Permissions’ select ‘Edit Default’.
12.Ensure that you have allowed permissions to ‘Anonymous Logon’,
‘Everyone’, ‘Interactive’, ‘Network’, and ‘System’ as shown below.
Then click OK.
13.We have successfully configured the default DCOM settings. Click
OK to return to the Component Services window.
14.Under ‘My Computer’, open the folder labelled ‘DCOM Config’
15.Browse to your OPC Server, right-click on it, and select ‘Properties’.
16.Under the ‘General’ tab, set the Authentication Level to ‘Connect’.
17.Go to the ‘Security’ tab. Under ‘Launch and Activation Permissions’,
select the ‘Customize’ button. Then click Edit.
18.Ensure that you have allowed permissions to ‘Everyone’, ‘Interactive’,
‘Network’, and ‘System’ as shown below. Then click OK.
19.Under ‘Access Permissions’ choose the ‘Customize’ button. Then
click Edit.
20.Ensure that you have allowed permissions to ‘Everyone’, ‘Interactive’,
‘Network’, and ‘System’ as shown below. Then click OK.
‘The interactive user’ OR, if it is running as a service, ‘The system
account’. Click OK to return to the Component Services window.
and select ‘Properties’.
23.Under the ‘General’ tab ensure that the Authentication Level is set to
‘Connect’.
24.Go to the ‘Security’ tab. Under ‘Launch and Activation Permissions’,
select the ‘Customize’ button. Then click Edit.
‘Network’, and ‘System’ as shown below. Then click OK.
Edit.
27.Ensure that you have allowed permissions to ‘Everyone’, ‘Interactive’,
‘Network’, and ‘System’ as shown below. Then click OK.
28.Go to the ‘Identity’ tab. The user should be set to ‘The system
account’, as OpcEnum runs as a service. Click OK. The DCOM
settings on this machine are now correct.
If the Windows Firewall is up and running, it will interfere with communication between applications on the system. There are ways to specify which applications are allowed through the Firewall – if you wish to do so, documents are available from the OPC Foundation which describe the procedure (https://www.doczj.com/doc/9b10823936.html,). Otherwise disable the firewall by walking through the following steps:
1.Go to ‘Start->Control Panel’ as shown:
2.Double click on the ‘Windows Firewall’ icon.
3.Set the Windows Firewall to ‘Off’ as shown, and click OK. The
Firewall will no longer block OPC Communication.
Data Execution Prevention
Data Execution Prevention (DEP) is a set of hardware and software technologies that perform additional checks on memory to help prevent malicious code from running on a system. In Microsoft Windows XP Service Pack 2 (SP2) and Microsoft Windows XP Tablet PC Edition 2005, DEP is enforced by hardware and by software.
DEP will also prevent many installations from running, and has been known to cause other software issues. Please disable it as per the following steps:
1.From your Start menu, right-click on ‘My Computer’ and select
‘Properties’
2.Go to the ‘Advanced’ tab. Under ‘Performance’, hit the Settings
button.
3.Select the ‘Turn on DEP for essential….’ button, as shown. Click OK.
At this point it may be necessary to restart the machine.
Local Security Policy
If you are using workgroups instead of domains the following steps may need to be taken in order to establish communication. Please note that these changes may compromise the security of your system – speak with your network administrator if you have any concerns.
1.Go to ‘Start->Settings->Control Panel->Administrative Tools->Local
Security Policy’.
2.Go to ‘Security Settings->Local Policies->Security Options’.
3.Right-click on ‘DCOM: Machine Access Restrictions…’ and select
‘Properties’.
4.Hit the ‘Edit Security’ button, as shown.