Veritas volume manager
软件安装配置说明
目录
一.简介
1.Veritas volume manager
二.安装和配置说明
1.软件安装前的准备和说明
2.软件的安装
3.配置和使用volume manager
4.日常使用
一. 简介
1.Veritas Volume Manager
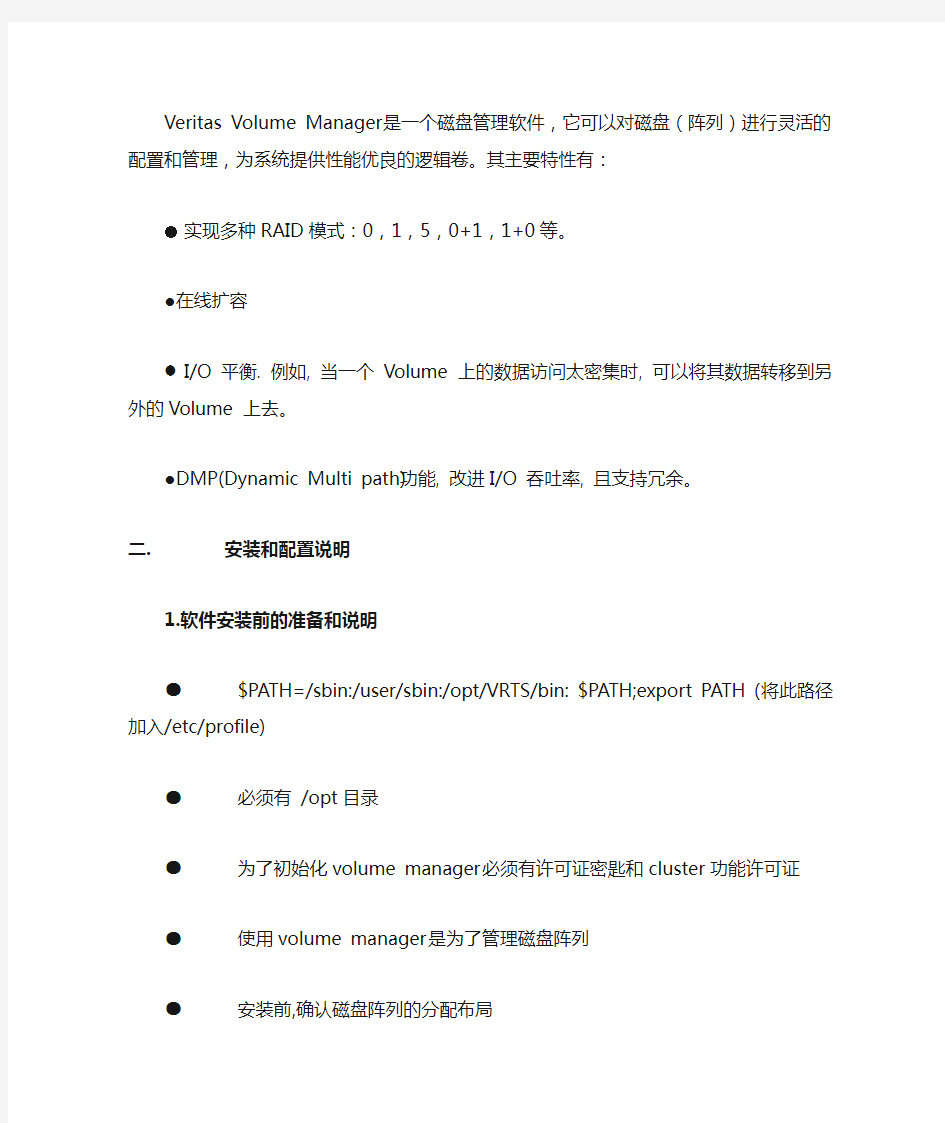
Veritas V olume Manager是一个磁盘管理软件,它可以对磁盘(阵列)进行灵活的配置和管理,为系统提供性能优良的逻辑卷。其主要特性有:
●实现多种RAID模式:0,1,5,0+1,1+0等。
●在线扩容
●I/O平衡. 例如, 当一个V olume 上的数据访问太密集时, 可以
将其数据转移到另外的V olume 上去。
●DMP(Dynamic Multi path)功能, 改进I/O 吞吐率, 且支持冗余。
二.安装和配置说明
1.软件安装前的准备和说明
●$PATH=/sbin:/user/sbin:/opt/VRTS/bin: $PATH;export PATH (将此路
径加入/etc/profile)
●必须有 /opt目录
●为了初始化volume manager必须有许可证密匙和cluster功能许可证
●使用volume manager是为了管理磁盘阵列
●安装前,确认磁盘阵列的分配布局
●安装前,确认rootdg的位置如c1t0d0s0。rootdg必须存在。
●有volume manager管理的磁盘应有两个空闲分区和少量空闲空间
●一般在封装一块内置硬盘后,volume manager会清空第4,5分区,所以
在安装操作系统后,不要在这两分区上装软件,这两分区也不要和其他的
文件系统挂接
●在系统硬盘上必须有足够的空间来安装软件
●操作系统是solaris8
●一般安装的顺序是先安装操作系统,然后是volume manager,然后是
cluster,然后是sybase和其他的应用程序
2. 软件安装
●将Veritas volume manager CD 盘放入CDROM中
●进入/cdrom/cdrom0,运行./installer,进行安装软件包。
●安装完毕后进入安装菜单,选择1安装license。
●安装完后选择2再选1进行软件安装。
3. 配置和使用Volume Manager
V olume Manager 是以磁盘组(Disk Group)为管理单元,其中rootdg必不可少,在其中包含V olume Manager 的启动信息。在系统中,有rootdg、datadg 2个Disk Group,rootdg 建在c1t1d0s0(举例)上。
●创建rootdg(操作系统安装在c1t0d0上)用vxinstall创建rootdg简
单
#vxconfigd –m disable 停后台进程
#vxdctl init 磁盘控制初始化
# vxdg init rootdg
#vxdisk –f init c1t1d0s0 type=simple
#vxdctl adddisk c1t1d0s0 type=simple
# vxdg adddisk c1t1d0s0
# vxdctl enable
# cd /etc/vx/reconfig.d/state.d
# rm install-db
#init 6 重启
●封装根磁盘(c1t0d0)
#vxdiskadm进入菜单,选择2进行封装。敲list可以看到
DEVICE DISK GROUP STATUS
c1t0d0 - - error
c1t1d0 c1t1d0s0 rootdg online
c1t1d0 - - error
fabric_0 - - error
fabric_1 - - error
Select disk devices to encapsulate: [
Here is the disk selected. Output format: [Device_Name]
Continue operation? [y,n,q,?] (default: y)
You can choose to add this disk to an existing disk group or to a new disk group. To create a new disk group, select a disk group name that does not yet exist.
Disk c1t0d0 contains one of these file systems: / /usr /var.
As a result it must be encapsulated to the rootdg disk group.
Hit RETURN to continue.按回车继续
Which disk group [
Use a default disk name for the disk? [y,n,q,?] (default: y)
The selected disks will be encapsulated and added to the rootdg disk group with default disk names.
c1t0d0
Continue with operation? [y,n,q,?] (default: y)
The following disk has been selected for encapsulation.
Output format: [Device_Name]
c1t0d0
Continue with encapsulation? [y,n,q,?] (default: y)
The disk device c1t0d0 will be encapsulated and added to the disk group
rootdg with the disk name disk01.
Use a default private region length for this disk?
[y,n,q,?] (default: y)
The c1t0d0 disk has been configured for encapsulation.
The first stage of encapsulation has completed successfully. You
should now reboot your system at the earliest possible opportunity.
The encapsulation will require two or three reboots which will happen
automatically after the next reboot. To reboot execute the command:
shutdown -g0 -y -i6
Continue with encapsulation? [y,n,q,?] (default: y) n 是否继续封装This will update the /etc/vfstab file so that volume devices are
used to mount the file systems on this disk device. You will need
to update any other references such as backup scripts, databases,
or manually created swap devices.
Encapsulate other disks? [y,n,q,?] (default: n)是否继续封装其它磁盘
封装结束。重启系统(reboot)。
●删除c1t1d0s0和c1t1d0s2
# vxdisk list
DEVICE TYPE DISK GROUP STATUS
c1t0d0s2 sliced disk01 rootdg online
c1t1d0s0 simple - - online
c1t1d0s2 sliced - - online
# vxdisk offline c1t1d0s2
# vxdisk rm c1t1d0s2
# vxdisk offline c1t1d0s0
# vxdisk rm c1t1d0s0
# vxdisk list
DEVICE TYPE DISK GROUP STATUS
c1t0d0s2 sliced disk01 rootdg online
#init 6
运行# vxdisk list可以看到
# vxdisk list
DEVICE TYPE DISK GROUP STATUS
c1t0d0s2 sliced disk01 rootdg online
c1t1d0s2 sliced online
●根盘的镜像
#vxdiskadm
先选1 (第二块硬盘初始化)
Add or initialize disks
Menu: VolumeManager/Disk/AddDisks
Use this operation to add one or more disks to a disk group. You can
add the selected disks to an existing disk group or to a new disk group
that will be created as a part of the operation. The selected disks may
also be added to a disk group as spares. Or they may be added as
nohotuses to be excluded from hot-relocation use. The selected
disks may also be initialized without adding them to a disk group
leaving the disks available for use as replacement disks.
More than one disk or pattern may be entered at the prompt. Here are
some disk selection examples:
all: all disks
c3 c4t2: all disks on both controller 3 and controller 4, target 2 c3t4d2: a single disk (in the c#t#d# naming scheme)
xyz_0 : a single disk (in the enclosure based naming scheme)
xyz_ : all disks on the enclosure whose name is xyz
Select disk devices to add: [
c1t0d0 disk01 rootdg online
c1t1d0 - - error
fabric_0 - - error
fabric_1 - - error
Select disk devices to add: [
Here is the disk selected. Output format: [Device_Name]
c1t1d0
Continue operation? [y,n,q,?] (default: y)
You can choose to add this disk to an existing disk group, a
new disk group, or leave the disk available for use by future
add or replacement operations. To create a new disk group,
select a disk group name that does not yet exist. To leave
the disk available for future use, specify a disk group name
of "none".
Which disk group [
Use a default disk name for the disk? [y,n,q,?] (default: y)
Add disk as a spare disk for rootdg? [y,n,q,?] (default: n)
Exclude disk from hot-relocation use? [y,n,q,?] (default: n)
The selected disks will be added to the disk group rootdg with
default disk names.
c1t1d0
Continue with operation? [y,n,q,?] (default: y)
The following disk device has a valid VTOC, but does not appear to have
been initialized for the Volume Manager. If there is data on the disk that should NOT be destroyed you should encapsulate the existing disk partitions as volumes instead of adding the disk as a new disk. Output format: [Device_Name]
c1t1d0
Encapsulate this device? [y,n,q,?] (default: y) n
c1t1d0
Instead of encapsulating, initialize? [y,n,q,?] (default: n) y(初始化操作)
Initializing device c1t1d0.
Use a default private region length for this disk?
[y,n,q,?] (default: y)
Adding disk device c1t1d0 to disk group rootdg with disk
name disk02.
Add or initialize other disks? [y,n,q,?] (default: n) n
然后选6 做Mirror
Mirror volumes on a disk
Menu: VolumeManager/Disk/Mirror
This operation can be used to mirror volumes on a disk. These
volumes can be be mirrored onto another disk or onto any
available disk space. Volumes will not be mirrored if they are already mirrored. Also, volumes that are comprised of more than one subdisk will not be mirrored.
Mirroring volumes from the boot disk will produce a disk that
can be used as an alternate boot disk.
At the prompt below, supply the name of the disk containing the volumes to be mirrored.
Enter disk name [
Disk group: rootdg
DM NAME DEVICE TYPE PRIVLEN PUBLEN STATE
dm disk01 c1t0d0s2 sliced 2888 71124291 -
dm disk02 c1t1d0s2 sliced 5521 71118513 -
Enter disk name [
You can choose to mirror volumes from disk disk01 onto any
available disk space, or you can choose to mirror onto a specific disk. To mirror to a specific disk, select the name of that disk. To mirror to any available disk space, select "any".
Enter destination disk [
NOTE: This operation can take a long time to complete.
Continue with operation? [y,n,q,?] (default: y)
Mirror volume disk014vol ...
Mirror volume disk015vol ...
Mirror volume rootvol ...
Mirror volume swapvol ...
Mirror volume usr ...
Mirroring of disk disk01 is complete.
Mirror volumes on another disk? [y,n,q,?] (default: n)
镜像完成,退出vxdiskadm。
执行以下命令,可以看到以下显示
#vxdisk list
DEVICE TYPE DISK GROUP STATUS
c1t0d0s2 sliced disk01 rootdg online
c1t1d0s2 sliced disk02 rootdg online
fabric_0 sliced - - error
注:也可以用vxinstall(/opt/VRTS/bin)来封装或初始化磁盘。
特别是可以用在封装根盘上。一般选用custom install的方式。这个命令使用后需要重起系统。
按要求在阵列上创建disk group
#vxdiskadm 选择1
Select an operation to perform: 1
Add or initialize disks
Menu: VolumeManager/Disk/AddDisks
Use this operation to add one or more disks to a disk group. You can
add the selected disks to an existing disk group or to a new disk group
that will be created as a part of the operation. The selected disks may
also be added to a disk group as spares. Or they may be added as nohotuses to be excluded from hot-relocation use. The selected
disks may also be initialized without adding them to a disk group leaving the disks available for use as replacement disks.
More than one disk or pattern may be entered at the prompt. Here are
some disk selection examples:
all: all disks
c3 c4t2: all disks on both controller 3 and controller 4, target 2
c3t4d2: a single disk (in the c#t#d# naming scheme)
xyz_0 : a single disk (in the enclosure based naming scheme)
xyz_ : all disks on the enclosure whose name is xyz
Select disk devices to add: [
DEVICE DISK GROUP STATUS
c1t0d0 disk01 rootdg online
c1t1d0 disk02 rootdg online
fabric_0 - - error
Select disk devices to add: [
Here is the disk selected. Output format: [Device_Name]
fabric_0
Continue operation? [y,n,q,?] (default: y)
You can choose to add this disk to an existing disk group, a
new disk group, or leave the disk available for use by future
add or replacement operations. To create a new disk group,
select a disk group name that does not yet exist. To leave
the disk available for future use, specify a disk group name
of "none".
Which disk group [
There is no active disk group named datadg.
Create a new group named datadg? [y,n,q,?] (default: y)
Use a default disk name for the disk? [y,n,q,?] (default: y)
Add disk as a spare disk for datadg? [y,n,q,?] (default: n)
Exclude disk from hot-relocation use? [y,n,q,?] (default: n)
A new disk group will be created named datadg and the selected disks
will be added to the disk group with default disk names.
fabric_0
Continue with operation? [y,n,q,?] (default: y)
The following disk device has a valid VTOC, but does not appear to have
been initialized for the Volume Manager. If there is data on the disk
that should NOT be destroyed you should encapsulate the existing disk
partitions as volumes instead of adding the disk as a new disk.
Output format: [Device_Name]
fabric_0
Encapsulate this device? [y,n,q,?] (default: y) n 需要不需要做封装
fabric_0
Instead of encapsulating, initialize? [y,n,q,?] (default: n) y
Initializing device fabric_0.
Use a default private region length for this disk?
[y,n,q,?] (default: y)
Creating a new disk group named datadg containing the disk
device fabric_0 with the name datadg01.
Add or initialize other disks? [y,n,q,?] (default: n)
执行#vxdisk list可以看到
DEVICE DISK GROUP STATUS
c1t0d0 disk01 rootdg online
c1t1d0 disk02 rootdg online
fabric_0 datadg01 datadg online
或者用#vxdg init datadg disk03=fabric_0(建立新的磁盘组datadg)
●在datadg磁盘组上建立卷
#vxassist –g datadg make sybase01 30g
#vxassist –g datadg make sybase02 30g
#vxassist –g datadg make sybase03 30g
#vxassist –g datadg make sybase04 30g
#vxassist –g datadg make sybase05 30g
#vxassist –g datadg make sybase06 30g
●在datadg磁盘组上建立卷为数据库所用
#vx assist–g datadg make mater 500M
#vx assist–g datadg make tempdev 500M
●在安装sybase数据库前,在系统上建立了sybase用户。此时要把一部分本机磁盘资源的用户属性改变:
#vxedit –g datadg set user=sybase group=staff 卷名(mater,tmpdev) 4. 日常维护
1)使用Volume Manager管理磁盘阵列
通常,V olume Manager随系统正常启动,后台有vxconfigd(ps –ef|grep vx)平时进程运行。需要手工启动时,可作如下操作:
# vxconfigd;vxdctl enable
日常工作在图形界面下(./vea)即可完成,在命令行下也可以实现,常用命令有:
Vxdiskadm
Vxdiskadd
Vxdcrtl
Vxprint -ht
Vxdisk
Vxdg
Vxassist
Vxvol
Vxrecover
2)如果是双机共用阵列的情况,阵列上的磁盘组只能有一台主机控制,如要由另一台主机控制,做如下操作:
在当前控制阵列的主机上执行
#vxdg deport datadg
在另一主机上执行:
#vxdg import datadg
#vxvol –g datadg startall
这样在另一主机上就可以控制磁盘组和其上的卷了。
3) 为磁盘阵列上的卷建立mount点
#mkdir /data_index1------------建立一个mount点
#vxassist –g datadg make sybase08 30g------在datadg磁盘组上
建立一个卷
#mount /dev/vx/dsk/datadg/sybase08 /data_index1---进行挂接4)在磁盘阵列上建立文件系统
#newfs /dev/vx/rdsk/datadg/data_index2