
USRP IP Configuration
Find computer’s IP address:
Click the Windows button, then click run. Type cmd, command prompt opens.
Type ipconfig /all, press enter. Ethernet adapter Local Area Connection 2 shows IPv4 address as 192.168.10.1. This is the computers IP address so use different ones for the USRP units.
Set USRP address:
Open the USRP utility by following the path:
Computer -> Local Disc -> Program Files (x86) -> National Instruments -> NI-USRP -> utilities -> USRP-utils.exe
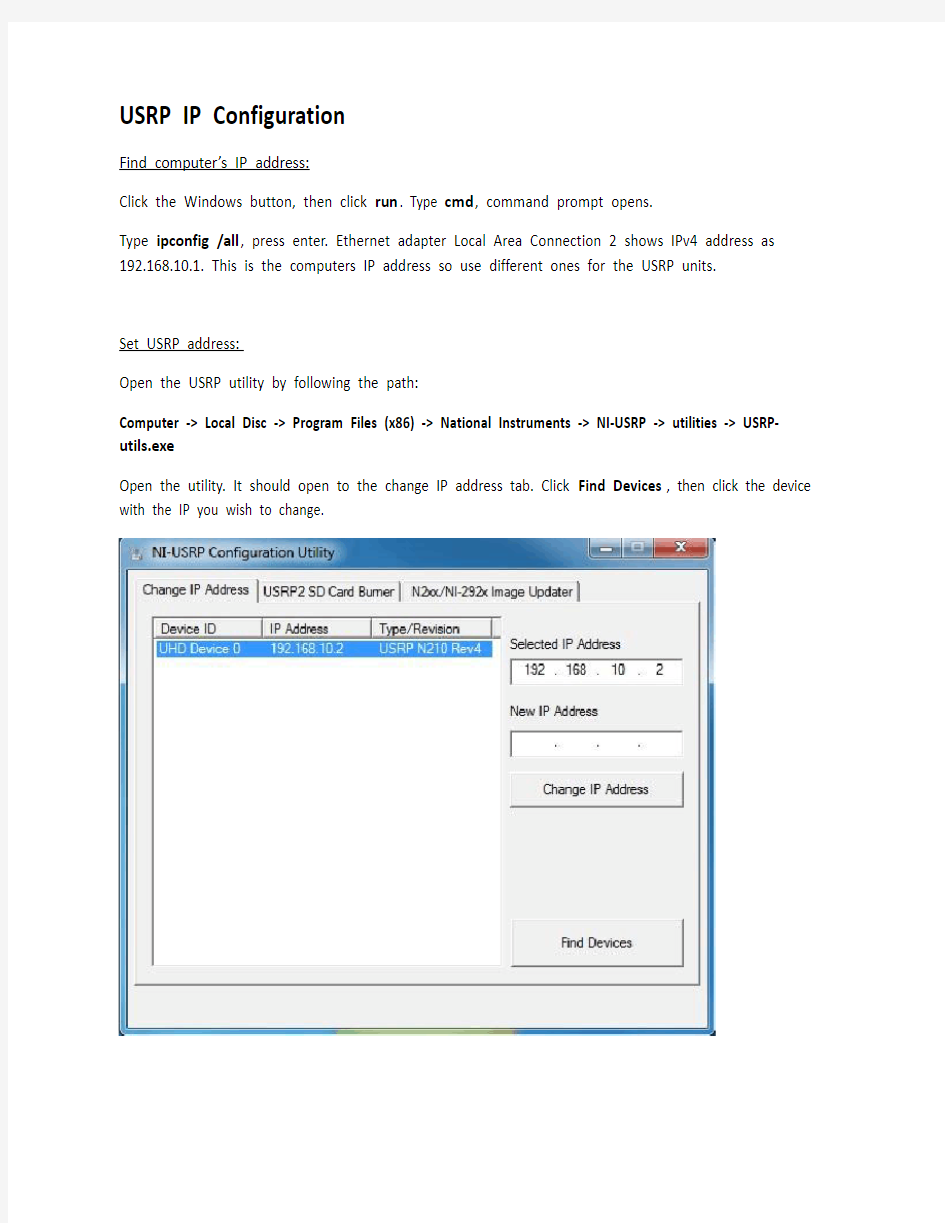
Open the utility. It should open to the change IP address tab. Click Find Devices, then click the device with the IP you wish to change.
Type new IP address in the box labeled as such. Choose an address with the first 3 segments the same as the computer’s IP, but make sure the digits in the las t segment are different. Note that there are 256 possible IP addresses (0-255). Make sure each USRP has a distinct IP address.
Click Change IP Address, click OK on the following to boxes that pop up. Unplug the USRP for a few seconds and plug it back in.
W ait a moment and then click find devices. If the USRP’s IP address shows up as the newly chosen IP, you are done. If not you will need to update the image.
Writing Images
Click the tab at the top of the utility that says N2xx/NI-292x Image Updater. You will need to browse for a new Firmware Image and a new FPGA image.
Be aware that though the front of the USRP’s box says NI USRP-292x, the firmware may refer to a different name for the device. In the Image Updater tab, look in the center box and note what it says
under Type/Revision. In this case it is USRP N210 Rev4. The type listed here is your guide to which firmware and fpga files you need to browse to, not what it says on the front of the USRP.
Look at the back of your USRP unit. If anywhere is says revision __, or r:__, take note. If it does have something like that, it may be relevant in finding the firmware file for your USRP. If it doesn’t say revision or r:_ anywhere on the back of the USRP don’t worry.
Now browse for the firmware image. Click browse, and find the file ending in _fw.bin that is most similar to the type noted earlier. In this case it is usrp_n210_fw.bin.
Now browse for FPGA image file. Click browse next to FPGA image, and select the file ending in fpga.bin most similar to your Type and revision. If there is a revision number on the back of the USRP unit, use that to choose which file to use (in the case where there are multiple that say r2 or r3, etc.). If there is no revision number on the back of the USRP unit use what it shows in the Image Updater window. In this case it I choose usrp_n210_r4-fpga.bin
After selecting Firmware and FPGA images, click WRITE IMAGES. If you receive an error about revision numbers matching, confirm that you are using a file that references the correct type (found in image updater) and the correct revision number (found on back of the USRP, and if not, in the image updater window.)
Click OK when the burn process has been completed successfully. Now follow the original instructions about changing the IP address. If you are still not successful, try one more time and then call NI.