S3c6410移植android 4.0
1,搭建androod4.0编译环境
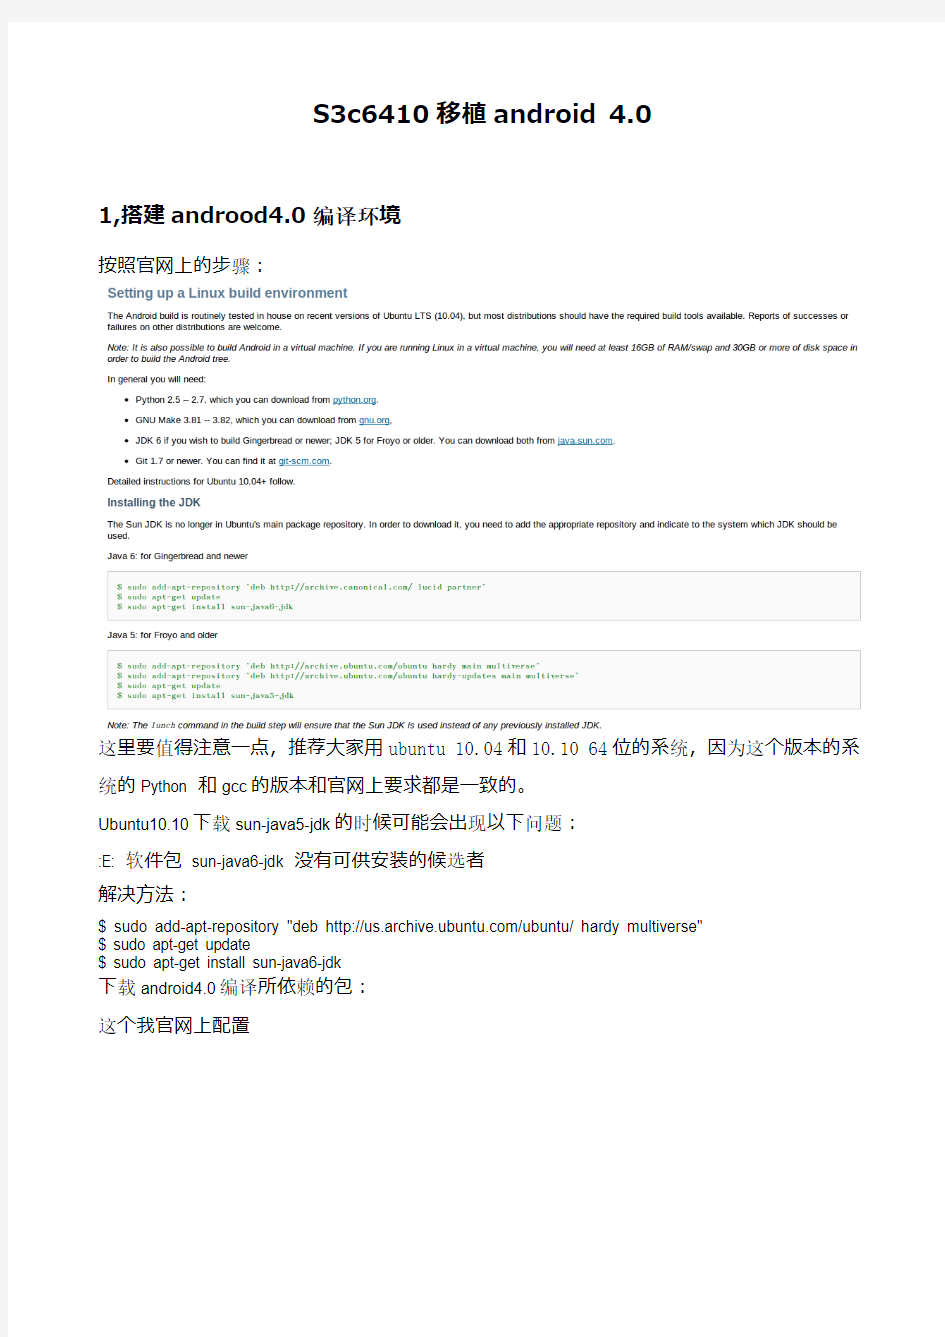
按照官网上的步骤:
这里要值得注意一点,推荐大家用ubuntu 10.04和10.10 64位的系统,因为这个版本的系统的Python 和gcc的版本和官网上要求都是一致的。
Ubuntu10.10下载sun-java5-jdk的时候可能会出现以下问题:
:E: 软件包sun-java6-jdk 没有可供安装的候选者
解决方法:
$ sudo add-apt-repository "deb https://www.doczj.com/doc/0013763489.html,/ubuntu/ hardy multiverse"
$ sudo apt-get update
$ sudo apt-get install sun-java6-jdk
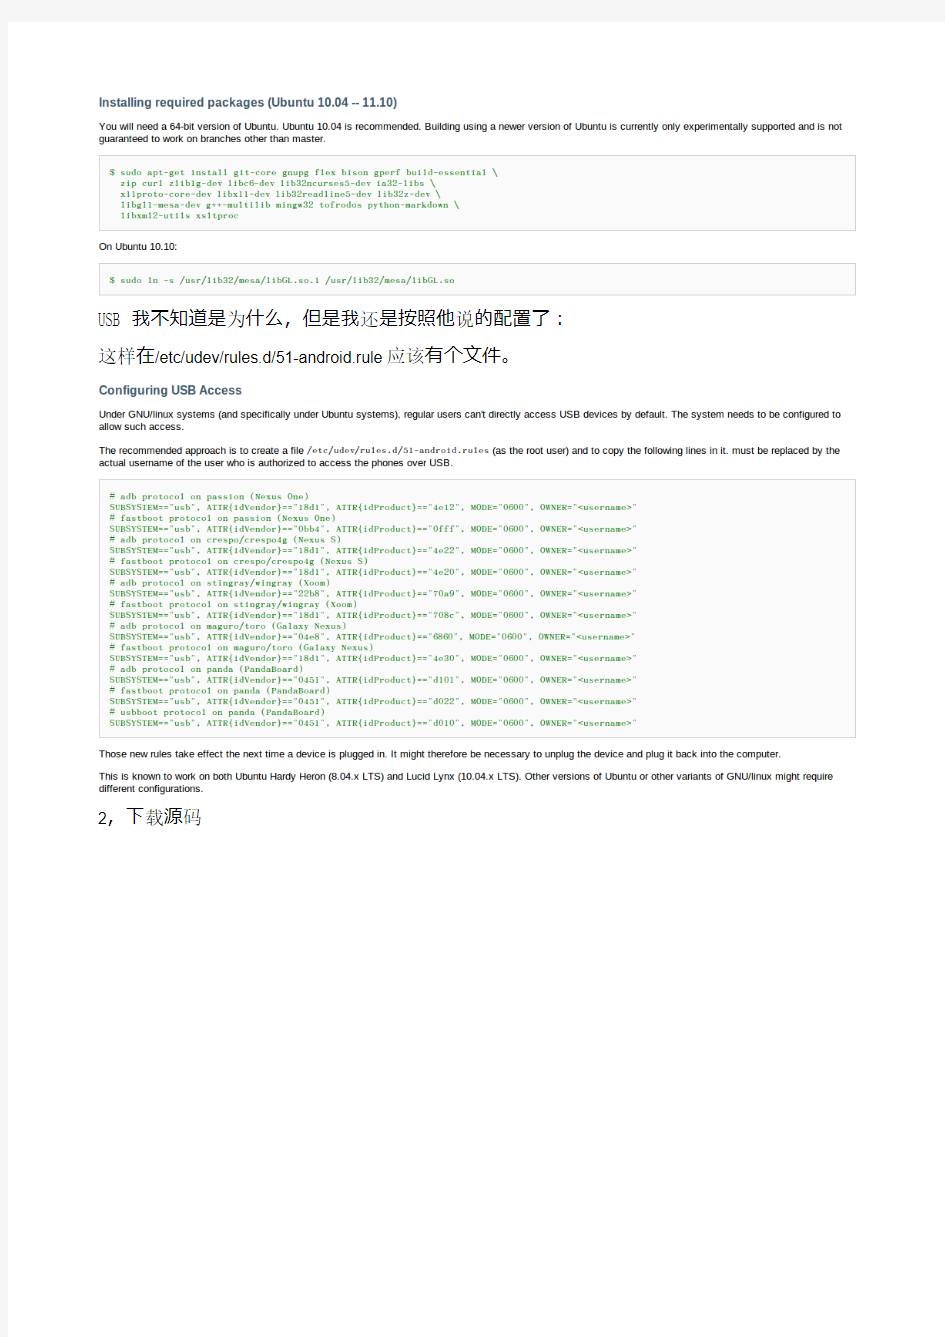
下载android4.0编译所依赖的包:
这个我官网上配置
USB我不知道是为什么,但是我还是按照他说的配置了:这样在/etc/udev/rules.d/51-android.rule应该有个文件。
2,下载源码
按照官网上的步骤下载可能会出现几个错误:
1>,命令的时候:
repo init -u git://https://www.doczj.com/doc/0013763489.html,/platform/manifest.git
终端提示以下错误:
Traceback (most recent call last):
File "/home/helei/bin/repo", line 603, in
main(sys.argv[1:])
File "/home/helei/bin/repo", line 570, in main
_Init(args)
File "/home/helei/bin/repo", line 184, in _Init
_CheckGitVersion()
File "/home/helei/bin/repo", line 213, in _CheckGitVersion
proc = subprocess.Popen(cmd, stdout=subprocess.PIPE)
File "/usr/lib/python2.6/subprocess.py", line 623, in __init__
errread, errwrite)
File "/usr/lib/python2.6/subprocess.py", line 1141, in _execute_child
raise child_exception
OSError: [Errno 2] No such file or directory
原因是没有安装git,执行以下命令:
sudo apt-get install git
sudo apt-get install git-core
2>,但是当使用命令repo syns的时候总是失败DownloadError: https://www.doczj.com/doc/0013763489.html,: error [Errno 110] Connection timed out> 其实官网(https://www.doczj.com/doc/0013763489.html,/source/downloading.html)有段说明,如果认真执行就可解决。 1,先按官网的步骤一步步执行 2,当遇到上述问题后,用浏览器登录https://https://www.doczj.com/doc/0013763489.html,/new-password,并用gmail 帐号登录; 3,点击网页上的“允许访问”,得到类似的结果: machine https://www.doczj.com/doc/0013763489.html, login git- machine https://www.doczj.com/doc/0013763489.html, login git- 将上边的两行追加到~/.netrc文件结尾。(如果你的linux系统中从来没有建立过此文件,就在home目录下建立.netrc文件,将上面的信息加到新建的文件中去), 4,下载地址的URI更改为https://https://www.doczj.com/doc/0013763489.html,/a/platform/manifest(中间加上“/a”)。5,然后执行repo sync就可以正常下载了 因为访问基本是匿名的,为了防止连接过多,对同一IP地址的连接数做了一定的限制。用gmail帐号进行认证。 3,修改源码使其支持s3c6410 1>,修改/WORKING_DIRECTORY/build/target/board/generic下的BoardConfig.mk 文件: pillar@Pillar:~/WORKING_DIRECTORY/build/target/board/generic$ gedit BoardConfig.mk 修改以下内容: TARGET_ARCH_VARIANT := armv5te-vfp TARGET_CPU_ABI := armeabi TARGET_CPU_ABI2 := armeabi 2>,修改external/webrtc/src/common_audio/signal_processing_library/main/interface/spl_inl.h文件,具体的修复方法在 https://https://www.doczj.com/doc/0013763489.html,/TeamICS/android_external_webrtc/commit/03dad79b60592ddcaa1512a b791c925216710f3d#diff-0可以找到,修改的内容如下: 如果修改不好就会出现一下错误: /tmp/ccpSksGM.s:208: Error: selected processor does not support `qadd16 ip,r0,r3' /tmp/ccpSksGM.s:236: Error: selected processor does not support `qadd16 r9,r4,r9' /tmp/ccpSksGM.s:253: Error: selected processor does not support `qadd16 ip,ip,r4' make: *** [out/target/product/generic/obj/STATIC_LIBRARIES/libwebrtc_spl_intermediates/auto_corr_to_refl_coef.o] 错误 1 make: *** 正在等待未完成的任务.... 4>,编译源码: 按照官网上的步骤编译: 从配置信息可以看出我这里编译的架构类型 由于我电脑装的是64位的系统但是内存只有3G,在编译过程中出现了几次错误,电脑卡死的情况,由于当时电脑卡死了,所以错误就没有记录下来,没有办法只好重启电脑重新编译,这里要注意一点,重新编译的时候,不要直接make -j4,要重新运行脚本文件,其实这里的脚本文件就是设置环境变量,这里总结一点,在编译过程中先要把环境搭好,可以用env命令查看当前的环境变量。只要环境环境变量设置好了,在编译过程中不要轻易修改源代码。编译应该是很顺利的。 对于像我这种内存只有3G的情况,推荐大家添加一个swap 设置大小4G左右 编译完了之后就会生成以下文件: 模拟器在 WORKING_DIRECTORY/out/host/linux-x86/bin 执行./emulator -verbose -show-kernel -shell -debug-enable -trace test就可以模拟了
相关主题
文本预览